Air sealing
An air barrier limits indoor air escaping through the ceiling. Gaps around the attic hatch, services and wall tops can carry warm, moist air into a cold attic.
Understand air leakage →Make sense of attic airflow, insulation, moisture and ice dams before choosing new vents or agreeing to work.
Canadian homeowner guides, useful worksheets and better questions for your contractor.
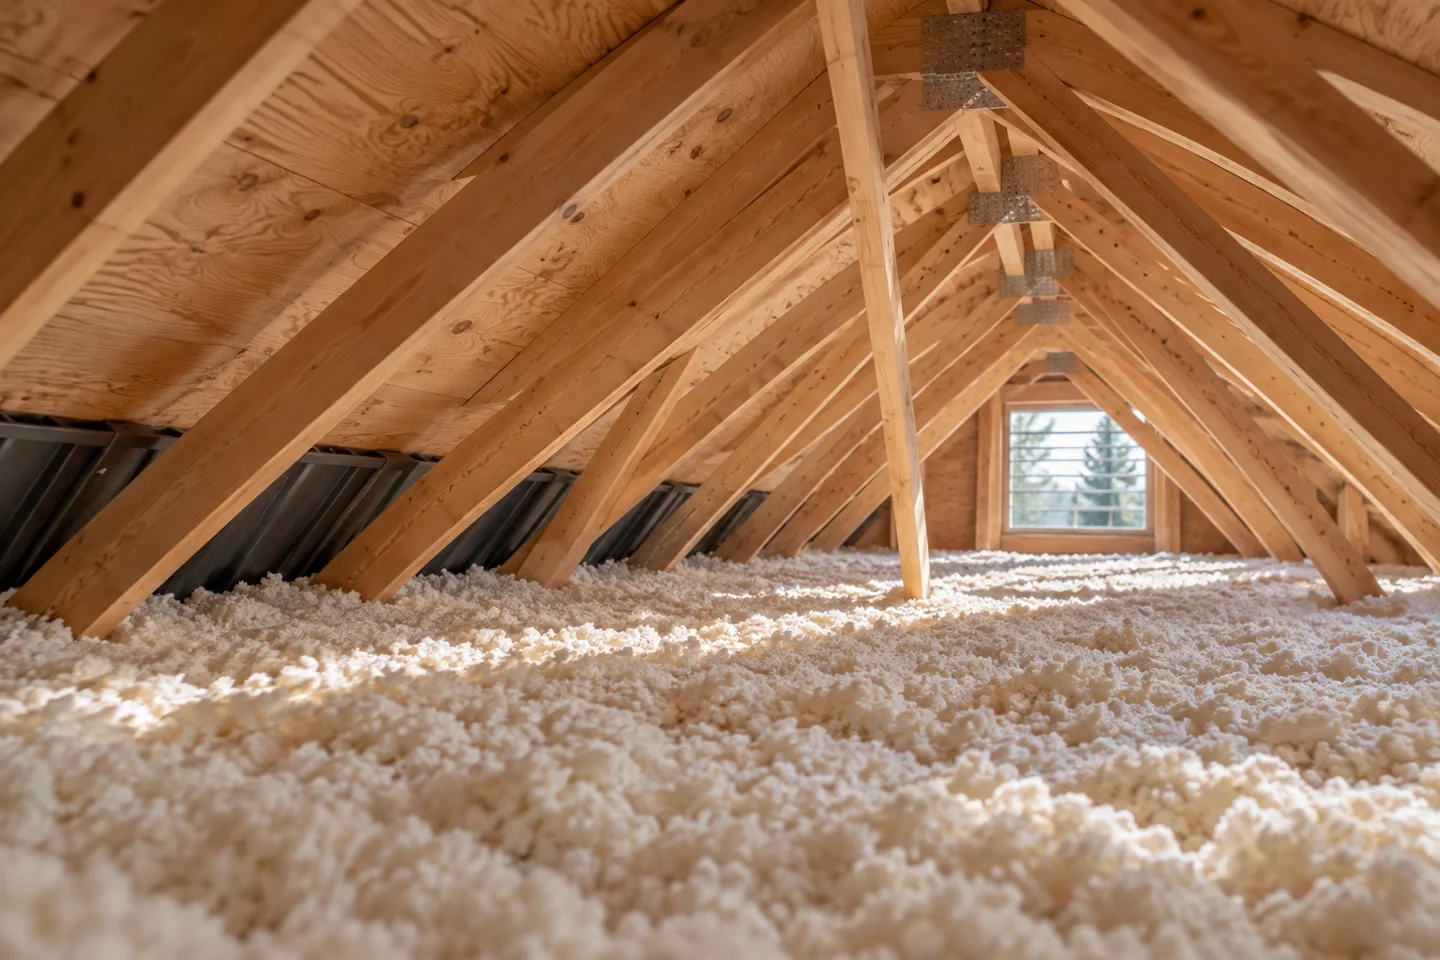
In a conventional vented attic, the ceiling separates the home from the roof space. The three parts work together; adding vents alone may leave the source of a problem untouched.
An air barrier limits indoor air escaping through the ceiling. Gaps around the attic hatch, services and wall tops can carry warm, moist air into a cold attic.
Understand air leakage →Insulation slows heat flow through the ceiling. Missing or thin coverage can leave local warm areas; insulation is not a substitute for a continuous air barrier.
Locate the thermal boundary →In a vented assembly, outdoor air moves through designed openings and clear paths. This helps remove moisture and keep the roof deck colder during winter.
Follow the airflow path →Building-science references: Natural Resources Canada: Roofs and atticsBuilding Science Corporation: Attic ventilation
Use the timing and location to guide an assessment. A visible symptom is a starting point; it does not identify the repair on its own.
Record when it appears, recent weather and where it is concentrated. Ask the assessor to distinguish indoor moisture and air leakage from a roof leak, and to explain what evidence supports the conclusion.
Prepare condensation questions →Ask for an assessment of heat reaching the roof, insulation continuity and available ventilation paths. Photograph patterns from a safe location; do not climb onto an icy roof to investigate.
Understand ice and snow observations →Ask how the roof-space findings relate to ceiling insulation, air leakage, windows and the home's heating or cooling system. Request the reasoning behind any claim that a new roof vent will solve room comfort.
Plan the first assessment →This is a good time to ask what is accessible, how proposed vent types work together and whether the job includes air sealing, insulation or only roofing work. Get each responsibility in writing.
Coordinate roof and attic work →A vented attic, a cathedral ceiling and an intentionally unvented roof use different arrangements. In some homes, additions and dormers create several roof spaces that do not connect.
Start by locating the insulation and the air barrier. Ask whether the roof was designed to be vented and which sections actually communicate. An unvented roof needs an appropriate assembly design; closing or adding vents changes more than the appearance of the roof.
Read the roof-space guide →A vent's outside dimensions are not its usable airflow area. Ask for the manufacturer's net free area, the number and location of vents, and the design basis used for your roof.
Build a vent-area recordThe worksheet organizes product values and assumptions. It does not certify compliance or measure actual airflow.
Ask for accessible-area photographs, the assembly description and any spaces that could not be inspected.
Request the intake and exhaust arrangement, product data and the applicable code or design basis.
Identify responsibility for roofing, air sealing, insulation, exhaust ducts, electrical work and access.
Agree on installation photographs, documents, cleanup, warranties and how recurring symptoms will be reviewed.
Follow a topic from the first observation through to scope and follow-up. Each guide gives you a practical next step.
No. Ask whether the assembly is designed to be vented, whether intake and airflow paths are available, and what the proposed change is intended to address. A count of visible roof vents does not describe the whole system.
No. It records dimensions, product values and an explicitly selected ratio. The applicable code, roof configuration, distribution requirements and installation details still need assessment by the responsible designer or professional.
Only if access has been assessed as safe and appropriate. You can begin with existing records and observations from occupied rooms or the ground. Ask a qualified professional to assess restricted access, suspect materials, wiring and structural concerns.
HAUSE receives the project details you choose to send. You can review and edit a worksheet brief first. An enquiry does not confirm availability, a quote, a booking or permission to carry out work.
Tell us your location, roof type if known, what you have observed and whether reroofing or other work is already planned.